As a trusted supplier of solar alloy LED wall washers, I understand the importance of providing comprehensive guidance to our customers. One common maintenance task is replacing the LED bulbs in these fixtures. In this blog post, I'll walk you through the step-by-step process of replacing the LED bulbs in a solar alloy LED wall washer, ensuring that your lighting system continues to perform at its best.
Understanding Your Solar Alloy LED Wall Washer
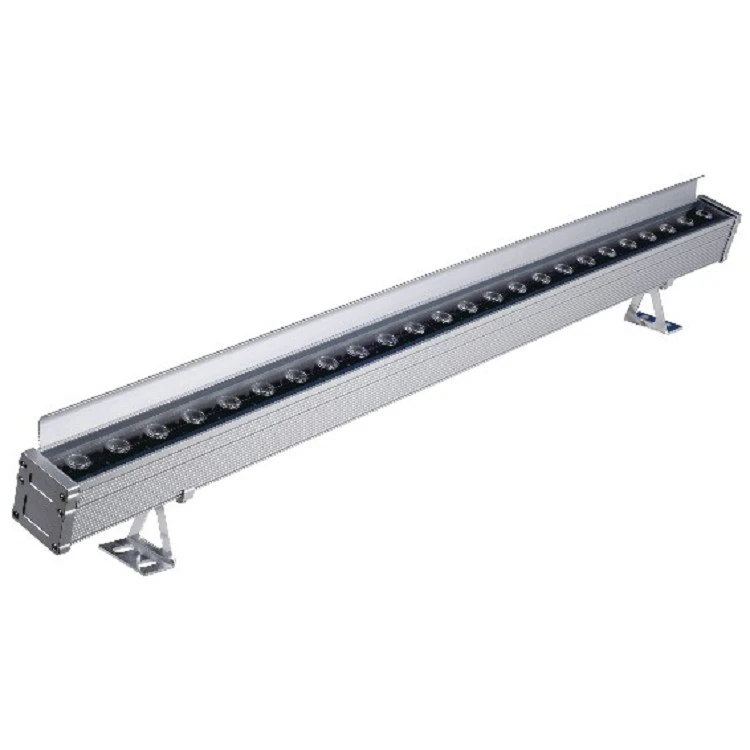
Before you begin the bulb replacement process, it's crucial to have a good understanding of your solar alloy LED wall washer. These fixtures are designed to provide high-quality, energy-efficient lighting for a variety of applications, including architectural lighting, landscape lighting, and commercial signage.
Solar alloy LED wall washers typically consist of a housing made from a durable alloy material, an LED light source, a solar panel for charging the internal battery, and a control system for adjusting the lighting settings. The LED bulbs are the heart of the fixture, providing the light output that illuminates your space.

Tools and Materials You'll Need
To replace the LED bulbs in your solar alloy LED wall washer, you'll need the following tools and materials:
- Replacement LED bulbs: Make sure to choose bulbs that are compatible with your specific wall washer model. You can find replacement bulbs on our website, including the Hex Flexible LED Wall Washer, Remote Control Ip65 LED Wall Washer, and Full Color Metal LED Wall Washer.
- Screwdriver: Depending on the design of your wall washer, you may need a Phillips or flathead screwdriver to remove the housing cover.
- Gloves: To protect your hands from any sharp edges or electrical components.
- Safety glasses: To protect your eyes from any debris or dust that may be released during the replacement process.
Step-by-Step Guide to Replacing LED Bulbs
Follow these steps to replace the LED bulbs in your solar alloy LED wall washer:
- Turn off the power: Before you begin any maintenance work on your wall washer, make sure to turn off the power supply. This will prevent any electrical shock or damage to the fixture.
- Remove the housing cover: Use a screwdriver to remove the screws that hold the housing cover in place. Carefully lift the cover off the wall washer, taking note of how it is positioned.
- Locate the LED bulbs: Once the housing cover is removed, you'll be able to see the LED bulbs. They are typically located in a socket or holder within the fixture.
- Remove the old bulbs: Gently grasp the old bulbs and twist them counterclockwise to remove them from the socket. Be careful not to apply too much pressure, as this could damage the bulbs or the socket.
- Insert the new bulbs: Take the new LED bulbs and align them with the socket. Carefully insert the bulbs into the socket and twist them clockwise until they are securely in place.
- Test the new bulbs: Before you replace the housing cover, it's a good idea to test the new bulbs to make sure they are working properly. Turn on the power supply and check if the bulbs are illuminated.
- Replace the housing cover: If the new bulbs are working properly, carefully replace the housing cover and secure it with the screws. Make sure the cover is properly aligned and tightened to prevent any water or dust from entering the fixture.
- Turn on the power: Once the housing cover is replaced, turn on the power supply and enjoy your newly replaced LED bulbs.
Tips and Tricks
- Refer to the user manual: If you're unsure about any aspect of the bulb replacement process, refer to the user manual that came with your wall washer. It will provide detailed instructions and diagrams specific to your model.
- Clean the fixture: While you have the housing cover removed, take the opportunity to clean the interior of the fixture. Use a soft, dry cloth to remove any dust or debris that may have accumulated.
- Store the old bulbs properly: If you have any old LED bulbs that are still in good condition, store them in a safe place for future use or recycling.
Conclusion
Replacing the LED bulbs in a solar alloy LED wall washer is a relatively simple process that can be completed with a few basic tools and some patience. By following the steps outlined in this blog post, you can ensure that your wall washer continues to provide high-quality, energy-efficient lighting for years to come.
If you have any questions or need further assistance with replacing the LED bulbs in your solar alloy LED wall washer, please don't hesitate to contact us. We're here to help you with all your lighting needs. Whether you're looking to purchase replacement bulbs or explore our range of solar alloy LED wall washers, we're ready to assist you. Feel free to reach out to us to start a procurement discussion and find the perfect lighting solutions for your project.
References
- Manufacturer's user manual for solar alloy LED wall washers.
- Industry standards and best practices for LED bulb replacement.


