

Hey there! As a supplier of Hex Waterproof LED Wall Washers, I often get asked about how to connect multiple units together. It's a great question, especially if you're looking to create a large - scale lighting display or illuminate a big area. In this blog, I'll walk you through the process step by step.
Why Connect Multiple Wall Washers?
First off, let's talk about why you'd want to connect multiple Hex Waterproof LED Wall Washers. Maybe you're working on a commercial project like a shopping mall, a hotel lobby, or an outdoor event space. In these cases, a single wall washer won't cut it. You need a series of them to cover a large surface area evenly. Or perhaps you're into creative lighting designs, and you want to create a dynamic, synchronized lighting effect. Connecting multiple units allows you to achieve that.
What You'll Need
Before you start connecting your wall washers, you'll need a few things:
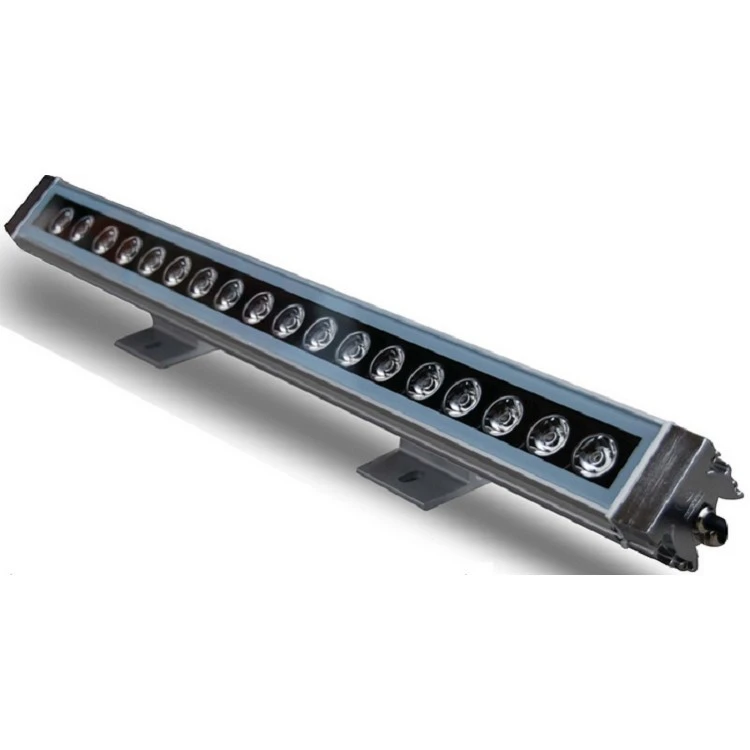
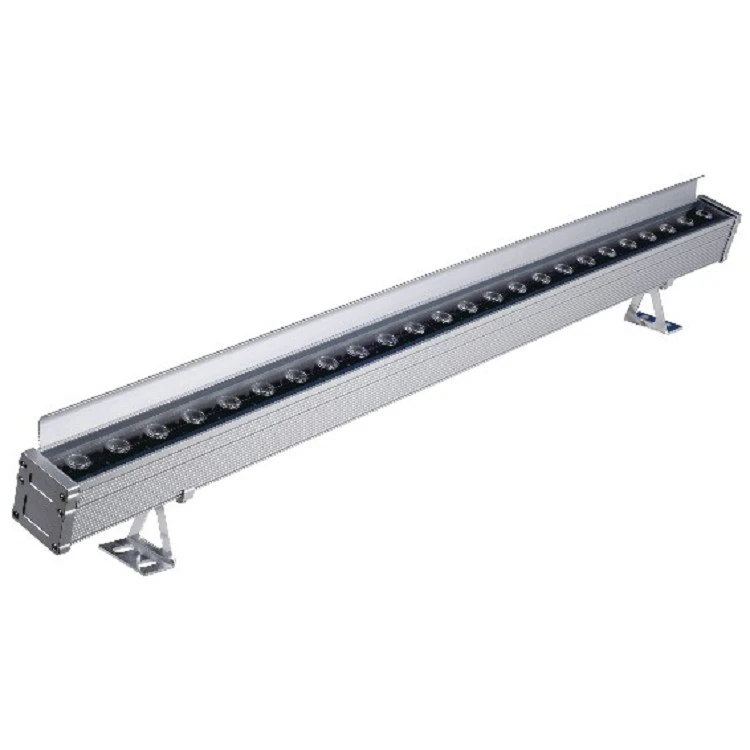
- Hex Waterproof LED Wall Washers: Of course, you need the wall washers themselves. You can check out our Hex Waterproof LED Wall Washer on our website. They're high - quality, waterproof, and perfect for both indoor and outdoor use.
- Power Supply: Make sure you have a power supply that can handle the total wattage of all the wall washers you're connecting. An underpowered supply can lead to dim lights or even damage the units.
- Connectors: Depending on the type of wall washers you have, you'll need the appropriate connectors to link them together. Most of our wall washers come with easy - to - use connectors, but you might need to get some extras if you're connecting a large number of units.
- Control System: If you want to control the color, brightness, and lighting effects of your wall washers, you'll need a control system. We also offer Remote Control Tunable LED Wall Washer which can be easily controlled via a remote.
Step - by - Step Connection Process
Step 1: Plan Your Layout
Before you start physically connecting the wall washers, plan out where you want to install them. Consider the area you want to illuminate, the spacing between the units, and the overall lighting effect you're going for. Make sure there's enough space for the wall washers to be installed securely and that the power supply and control system can reach all the units.
Step 2: Mount the Wall Washers
Once you have your layout planned, it's time to mount the wall washers. Our Hex Flexible LED Wall Washer can be easily bent and shaped to fit different surfaces, making installation a breeze. Use the mounting brackets or clips that come with the wall washers to attach them to the wall or other surfaces. Make sure they're level and securely fastened.
Step 3: Connect the Wall Washers
Now comes the fun part - connecting the wall washers. Start by taking the first wall washer and connecting it to the power supply using the appropriate power cable. Then, use the connectors to link the first wall washer to the second one. Most of our wall washers have a daisy - chain connection method, which means you can simply plug one unit into the next. Keep doing this until you've connected all the wall washers in your series.
Step 4: Connect the Control System
If you're using a control system, connect it to the first wall washer in the series. Follow the instructions that come with the control system to set it up. You can usually control the color, brightness, and lighting effects of the wall washers using a remote control or a software interface.
Step 5: Test the System
Once everything is connected, it's time to test the system. Turn on the power supply and check if all the wall washers are working properly. Make sure the lighting effects are as you intended and that there are no loose connections or flickering lights. If you encounter any problems, double - check your connections and refer to the user manual.
Troubleshooting Tips
- Dim Lights: If the lights are dim, it could be due to an underpowered power supply. Check the wattage of your power supply and make sure it can handle the total wattage of all the wall washers.
- Flickering Lights: Flickering lights can be caused by loose connections. Check all the connectors and make sure they're securely plugged in.
- No Lights: If none of the wall washers are working, check the power supply to make sure it's turned on and providing the correct voltage. Also, check the fuses and circuit breakers.
Benefits of Our Hex Waterproof LED Wall Washers
- Waterproof Design: Our wall washers are designed to be waterproof, which means they can be used in outdoor environments without the risk of damage from rain or moisture.
- Energy - Efficient: LED technology is known for its energy efficiency. Our wall washers consume less power compared to traditional lighting sources, which can save you money on your electricity bills.
- Customizable Lighting Effects: With our control system, you can create a wide range of lighting effects, from static colors to dynamic color - changing patterns.
Conclusion
Connecting multiple Hex Waterproof LED Wall Washers together is not as complicated as it might seem. By following the steps outlined in this blog, you can create a beautiful and functional lighting display for your commercial or residential project. Whether you're looking to illuminate a large area or create a unique lighting effect, our wall washers are the perfect choice.
If you're interested in purchasing our Hex Waterproof LED Wall Washers or have any questions about the connection process, feel free to reach out to us. We're always happy to help you with your lighting needs and guide you through the purchasing process. Let's work together to bring your lighting ideas to life!
References
- Manufacturer's user manuals for Hex Waterproof LED Wall Washers, Remote Control Tunable LED Wall Washers, and Hex Flexible LED Wall Washers.
- Industry standards for LED lighting installation and connection.


