

Installing a hex waterproof LED wall washer can be a rewarding project that enhances the aesthetics and functionality of your space. As a trusted supplier of high-quality hex waterproof LED wall washers, I'm excited to share a comprehensive guide on how to install these remarkable lighting fixtures. Whether you're a professional installer or a DIY enthusiast, this guide will provide you with the necessary steps and tips to ensure a successful installation.
Step 1: Gather the Necessary Tools and Materials
Before you begin the installation process, it's essential to gather all the tools and materials you'll need. Here's a list of items you should have on hand:
- Hex waterproof LED wall washer
- Mounting brackets and screws
- Electrical wires and connectors
- Screwdriver
- Drill
- Wire strippers
- Electrical tape
- Ladder or scaffolding (if needed)
Step 2: Choose the Installation Location
Selecting the right location for your hex waterproof LED wall washer is crucial for achieving the desired lighting effect. Consider the following factors when choosing the installation location:
- Height and Angle: Determine the optimal height and angle at which the wall washer should be installed to illuminate the target area effectively. Generally, wall washers are installed at a height of 6 to 8 feet above the ground and angled downward at approximately 30 to 45 degrees.
- Distance from the Wall: Measure the distance between the wall washer and the wall to ensure that the light spreads evenly across the surface. The recommended distance varies depending on the beam angle of the wall washer, but it typically ranges from 1 to 3 feet.
- Accessibility: Choose a location that is easily accessible for maintenance and replacement of the wall washer. Avoid installing the fixture in areas that are difficult to reach or where it may be obstructed by other objects.
Step 3: Prepare the Mounting Surface
Once you've chosen the installation location, you'll need to prepare the mounting surface. Follow these steps to ensure a secure and stable installation:
- Clean the Surface: Use a clean cloth or brush to remove any dirt, dust, or debris from the mounting surface. This will help the mounting brackets adhere properly and prevent the wall washer from shifting or falling.
- Mark the Mounting Holes: Use a pencil or marker to mark the locations of the mounting holes on the wall. Make sure the holes are evenly spaced and aligned with the mounting brackets on the wall washer.
- Drill the Mounting Holes: Use a drill to create the mounting holes in the wall. The size of the holes will depend on the type of screws or bolts you'll be using to attach the mounting brackets. Make sure the holes are deep enough to accommodate the screws or bolts securely.
Step 4: Install the Mounting Brackets
After preparing the mounting surface, you can proceed to install the mounting brackets. Follow these steps to ensure a proper installation:
- Attach the Mounting Brackets to the Wall Washer: Use the screws or bolts provided with the wall washer to attach the mounting brackets to the fixture. Make sure the brackets are securely fastened and aligned with the mounting holes on the wall.
- Align the Mounting Brackets with the Mounting Holes: Hold the wall washer against the wall and align the mounting brackets with the mounting holes you drilled earlier. Use a level to ensure that the wall washer is straight and level.
- Insert the Screws or Bolts: Insert the screws or bolts through the mounting holes in the brackets and into the wall. Use a screwdriver or wrench to tighten the screws or bolts securely. Make sure the wall washer is firmly attached to the wall and does not move or wobble.
Step 5: Connect the Electrical Wires
Once the wall washer is securely installed, you'll need to connect the electrical wires. Follow these steps to ensure a safe and proper electrical connection:
- Turn off the Power: Before working with electrical wires, make sure to turn off the power to the circuit at the breaker box. This will prevent the risk of electric shock or injury.
- Strip the Wires: Use wire strippers to remove approximately 1/2 inch of insulation from the ends of the electrical wires. Make sure to strip the wires carefully to avoid damaging the conductors.
- Connect the Wires: Connect the wires from the wall washer to the corresponding wires in the electrical box. Use wire connectors to secure the connections and prevent them from coming loose. Make sure to match the colors of the wires correctly (e.g., black to black, white to white, green or bare to green or bare).
- Insulate the Connections: Use electrical tape to insulate the connections and prevent them from coming into contact with other wires or metal surfaces. Make sure to wrap the tape tightly around the connections to ensure a secure and waterproof seal.
Step 6: Test the Wall Washer
After connecting the electrical wires, you can test the wall washer to ensure that it is working properly. Follow these steps to test the wall washer:
- Turn on the Power: Turn on the power to the circuit at the breaker box. This will supply electricity to the wall washer and allow it to operate.
- Check the Lighting: Observe the wall washer to see if it is producing light. If the wall washer does not turn on, check the electrical connections to make sure they are secure and properly connected. If the problem persists, consult a qualified electrician for further assistance.
- Adjust the Angle and Focus: If necessary, adjust the angle and focus of the wall washer to achieve the desired lighting effect. You can use the adjustable mounting brackets or the built-in focusing mechanism on the wall washer to make these adjustments.
Step 7: Secure the Wall Washer
Once you've tested the wall washer and are satisfied with the lighting effect, you can secure the fixture to prevent it from moving or shifting. Follow these steps to secure the wall washer:
- Tighten the Mounting Screws or Bolts: Use a screwdriver or wrench to tighten the mounting screws or bolts on the wall washer. Make sure the screws or bolts are securely fastened and that the wall washer is firmly attached to the wall.
- Apply Sealant: If the wall washer is installed in an outdoor or wet environment, you may want to apply a sealant around the edges of the fixture to prevent water from entering and damaging the electrical components. Use a waterproof sealant that is suitable for use with LED lighting fixtures.
Step 8: Clean Up and Maintenance
After completing the installation, it's important to clean up the work area and perform regular maintenance on the wall washer to ensure its long-term performance. Follow these steps to clean up and maintain the wall washer:
- Remove any Tools and Materials: Collect all the tools and materials you used during the installation and store them in a safe place. This will help prevent accidents and keep your work area organized.
- Clean the Wall Washer: Use a clean cloth or brush to remove any dirt, dust, or debris from the surface of the wall washer. You can also use a mild detergent and water to clean the fixture if necessary. Make sure to dry the wall washer thoroughly before using it again.
- Inspect the Wall Washer Regularly: Periodically inspect the wall washer for any signs of damage or wear. Check the electrical connections, mounting brackets, and lenses to make sure they are in good condition. If you notice any problems, contact a qualified technician for repair or replacement.
Conclusion
Installing a hex waterproof LED wall washer is a relatively straightforward process that can be completed by most DIY enthusiasts with basic electrical knowledge and skills. By following the steps outlined in this guide, you can ensure a safe and successful installation that enhances the aesthetics and functionality of your space. If you have any questions or need further assistance, please don't hesitate to contact us. We're here to help you find the perfect lighting solution for your needs.
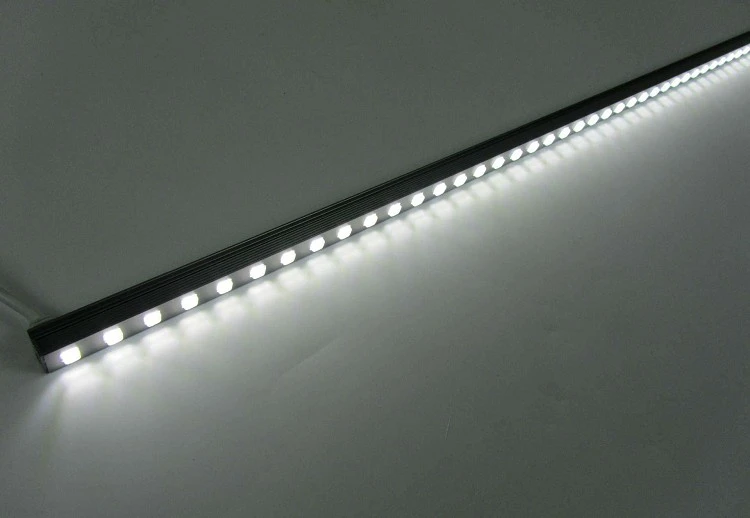
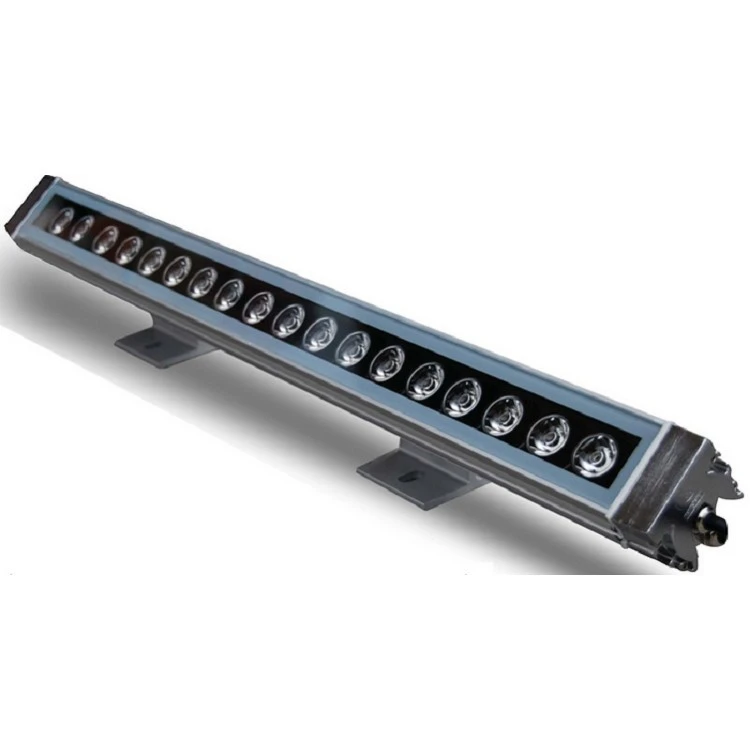
As a leading supplier of hex waterproof LED wall washers, we offer a wide range of high-quality products to meet your specific requirements. Our Full Color Metal LED Wall Washer provides vibrant and customizable lighting effects, while our Energy Saving Remote Control LED Wall Washer allows you to control the lighting from a distance. We also offer a Remote Control Ip65 LED Wall Washer that is suitable for outdoor and wet environments.
If you're interested in purchasing our hex waterproof LED wall washers or have any questions about our products, please feel free to contact us. We'll be happy to provide you with more information and assist you with your lighting needs.
References
- LED Lighting Handbook, Third Edition, by John Benya
- Lighting Basics: A Guide to Understanding Lighting Design, by the Illuminating Engineering Society of North America
- National Electrical Code (NEC), by the National Fire Protection Association


