Hey there! As a supplier of hex flexible LED wall washers, I'm stoked to share with you how to install one on a shed. Whether you're looking to add some cool lighting effects to your shed for a party or just want to spruce up the exterior, this guide will walk you through the process step by step.
What You'll Need
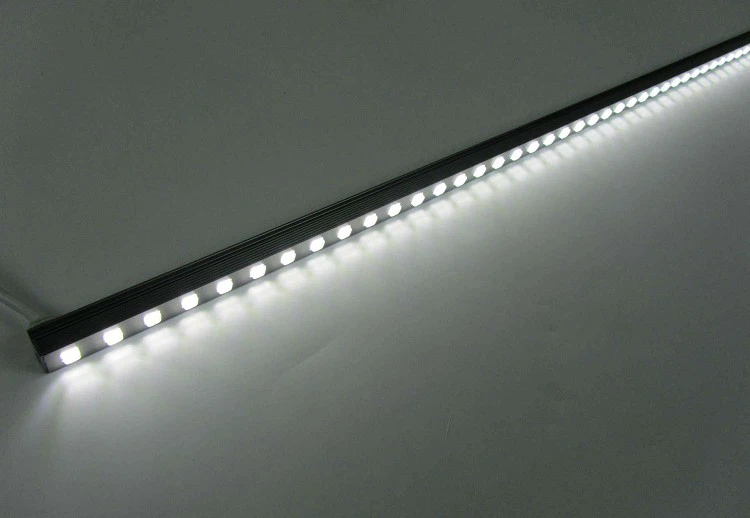
First things first, let's talk about the tools and materials you'll need for this project. You'll obviously need a hex flexible LED wall washer. We offer a variety of options, like the Full Color Hex LED Wall Washer, the Decorative Alloy LED Wall Washer, and the Remote Control Tunable LED Wall Washer. Pick the one that suits your needs and style.
Apart from the LED wall washer, you'll also need a few basic tools. These include a drill, screws, a screwdriver, wire strippers, electrical tape, and a voltage tester. Make sure you have all these on hand before you start the installation.
Step 1: Plan Your Installation
Before you start drilling holes and running wires, it's important to plan out where you want to install the LED wall washer. Think about the effect you want to achieve. Do you want the light to shine straight down on the shed's surface, or do you want it to create a more diffused glow?
Measure the area where you'll be installing the wall washer. You want to make sure it fits properly and that there's enough space for the wires. Mark the spots where you'll drill the holes for the mounting brackets. It's a good idea to use a level to ensure that the wall washer will be installed straight.
Step 2: Mount the Brackets
Once you've planned out the installation, it's time to mount the brackets. Use the drill to make holes in the marked spots on the shed. Make sure the holes are the right size for the screws you'll be using.
Attach the mounting brackets to the shed using the screws and a screwdriver. Tighten the screws firmly, but be careful not to overtighten them, as this could damage the shed's surface.
Step 3: Install the LED Wall Washer
Now that the brackets are in place, it's time to install the LED wall washer. Carefully place the wall washer on the brackets and align it with the holes. Use the screws to secure the wall washer to the brackets.
Make sure the wall washer is securely attached and doesn't wobble. You don't want it to fall off or move around once it's installed.
Step 4: Connect the Wires
The next step is to connect the wires. First, use the wire strippers to remove a small section of the insulation from the ends of the wires on the LED wall washer and the power source.
Match the positive and negative wires correctly. Usually, the positive wire is red and the negative wire is black, but it's always a good idea to double - check. Connect the wires together and wrap them with electrical tape to ensure a secure connection.
Before you turn on the power, use a voltage tester to make sure there's no electrical current flowing through the wires. This is an important safety step.
Step 5: Test the Installation
Once you've connected the wires, it's time to test the installation. Plug in the power source and turn on the LED wall washer. Check to see if it's working properly. If the light doesn't come on, double - check the wire connections and make sure the power source is working.

If everything is working fine, you can adjust the angle of the wall washer to get the desired lighting effect. You can use the remote control if you've chosen a model with that feature.
Step 6: Secure and Finish
After testing the installation, make sure all the connections are secure. Tighten any loose screws and check the electrical tape to make sure it's still in place.
If there are any excess wires, you can neatly tuck them away or use cable ties to secure them. This will give your installation a clean and professional look.
Troubleshooting Tips
Even if you follow all the steps correctly, you might run into some issues. If the LED wall washer flickers, it could be due to a loose wire connection. Check all the connections and make sure they're tight.
If the light is too dim, it could be a problem with the power source. Make sure you're using the right voltage and that the power supply is working properly.
Why Choose Our Hex Flexible LED Wall Washers
Our hex flexible LED wall washers are top - notch. They're made with high - quality materials, so they're durable and long - lasting. The flexible design allows you to bend and shape the wall washer to fit different surfaces and angles.
With a wide range of colors and lighting effects, you can create a truly unique and eye - catching look for your shed. And our products come with a warranty, so you can have peace of mind knowing that you're making a good investment.
Contact Us for Purchasing
If you're interested in purchasing a hex flexible LED wall washer, we'd love to hear from you. Whether you have questions about the installation process, want to know more about our products, or are ready to place an order, just reach out to us. We'll be happy to assist you and help you find the perfect LED wall washer for your shed.
References
- General knowledge on LED lighting installation
- Manufacturer's instructions for hex flexible LED wall washers


