

Hey there! I'm a supplier of flexible dimmable wall lamps, and I'm stoked to share with you how to install one on a concrete wall. It might seem a bit daunting at first, but with the right tools and a bit of know - how, you'll have your stylish and functional lamp up in no time.
Tools and Materials You'll Need
First things first, let's talk about what you'll need for this project. You'll need a drill with a masonry bit, as concrete is tough and regular drill bits won't cut it. A level is also essential to make sure your lamp is straight. You'll want some wall anchors and screws that are suitable for concrete. Of course, you can't forget your flexible dimmable wall lamp and the necessary wiring components. A wire stripper and electrical tape are must - haves for dealing with the wiring.

Pre - installation Checks
Before you start drilling holes in your concrete wall, you need to do a few checks. Locate any electrical wires or plumbing that might be behind the wall. You don't want to drill into them, trust me! You can use a stud finder with electrical wire detection capabilities to help you out. Also, decide where you want to place your lamp. Think about the functionality and aesthetics. Do you want it to light up a specific area like a reading nook or just add some ambient light to the room?
Marking the Wall
Once you've decided on the location, use a pencil and a level to mark the spots where you'll drill the holes. Make sure the marks are straight and evenly spaced according to the mounting holes on your lamp. This step is crucial as it will determine how well your lamp sits on the wall.
Drilling the Holes
Now it's time to break out the drill. Put on some safety goggles and a dust mask, as drilling concrete can create a lot of dust. Set your drill to the appropriate speed for masonry work. Start drilling slowly at first, then gradually increase the speed. Apply steady pressure, but don't force it too hard. If you feel the drill bit getting stuck or overheating, stop and let it cool down. Once you've drilled the holes to the right depth, use a brush to clean out any dust or debris.
Installing the Wall Anchors
Take your wall anchors and insert them into the drilled holes. You can use a hammer to gently tap them in if they're a bit stubborn. Make sure they're flush with the wall surface. The wall anchors will provide a secure base for the screws that will hold your lamp in place.
Wiring the Lamp
This part can be a bit tricky, so if you're not comfortable with electrical work, it's a good idea to call in a professional. First, turn off the power to the area where you'll be working at the circuit breaker. Use your wire stripper to expose the ends of the wires in the wall and the wires on the lamp. Match the colors of the wires (usually black for hot, white for neutral, and green or bare copper for ground) and connect them using wire nuts. Wrap the connections with electrical tape for added safety.
Mounting the Lamp
Once the wiring is done, it's time to mount the lamp. Line up the mounting holes on the lamp with the screws in the wall anchors. Carefully screw the lamp onto the wall, but don't overtighten the screws. You want it to be secure but not damaged.
Testing the Lamp
After mounting the lamp, turn the power back on at the circuit breaker. Flip the switch, and hopefully, your flexible dimmable wall lamp will light up! Test the dimming function to make sure it works properly. If there are any issues, double - check your wiring connections.
Benefits of a Flexible Dimmable Wall Lamp
Now that you've installed your lamp, let's talk about why it's such a great addition to your space. The flexibility allows you to adjust the direction of the light, so you can focus it where you need it most. Whether you're reading, working on a project, or just relaxing, you can customize the lighting. The dimmable feature is also awesome. You can create different moods in the room, from bright and energetic to soft and cozy.
Other Great Lighting Options
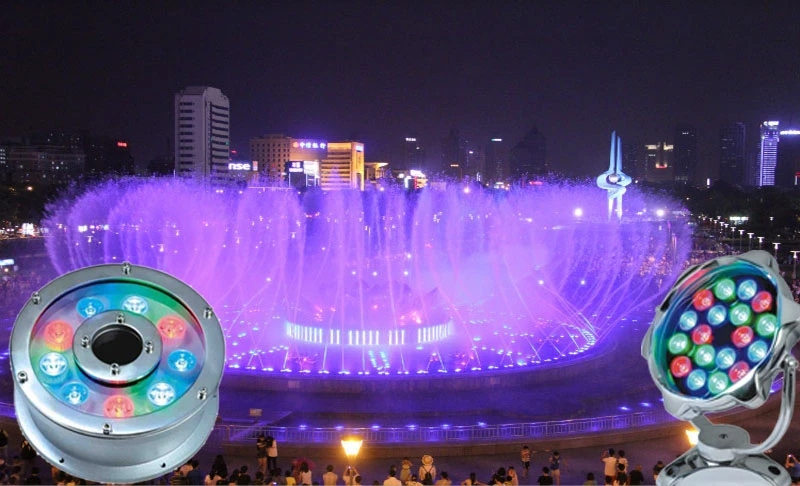
If you're interested in other lighting solutions, we also offer some great products like the Low - Voltage Outdoor Underwater Lamp. This is perfect for adding a touch of magic to your outdoor pond or pool. The Ground LED Landscape - Lamp is another great option for illuminating your garden paths or flower beds. And if you need a waterproof wall lamp with an induction feature, check out our Induction Waterproof Wall Lamp.
Conclusion
Installing a flexible dimmable wall lamp on a concrete wall might seem like a challenge, but with the right steps and a bit of patience, you can do it. Not only will it enhance the functionality of your space, but it'll also add a stylish touch. If you're interested in purchasing a flexible dimmable wall lamp or any of our other lighting products, don't hesitate to reach out. We're here to help you find the perfect lighting solutions for your needs. Whether you're a homeowner looking to spruce up your living room or a contractor working on a big project, we've got you covered.
References
- "Home Improvement Handbook": A comprehensive guide to various home installation projects.
- "Electrical Wiring Basics": A resource that explains the fundamentals of electrical wiring for DIYers.


