Hey there! As a supplier of wall buried foot lamps, I've had my fair share of experiences with installations. Securing these lamps properly during installation is super important, not just for the lamp's longevity but also for safety reasons. In this blog, I'm gonna walk you through how to secure a wall buried foot lamp during installation.
1. Pre - installation Checks
Before you even start installing the lamp, you need to do some checks. First off, check the wall where you plan to bury the lamp. Make sure it's made of a suitable material. Concrete, brick, or stone walls are usually great choices as they can support the weight of the lamp and provide a stable base. If you're dealing with a drywall or a wall made of a softer material, you might need to reinforce it.
Next, check the lamp itself. Look for any signs of damage, like cracks in the housing or loose wires. It's always better to catch these issues before you start the installation process. You don't want to go through all the trouble of installing a lamp only to find out it's defective.
2. Marking the Installation Spot
Once you've done the pre - installation checks, it's time to mark the spot on the wall where you'll be burying the lamp. Use a measuring tape to ensure that the lamp will be at the right height and position. Usually, wall buried foot lamps are installed close to the ground, around 6 - 12 inches above the floor.
Use a pencil or a marker to mark the center of the installation area. Then, based on the dimensions of the lamp housing, mark the outer edges of the area that you'll need to cut out. Make sure your markings are clear and accurate.
3. Cutting the Hole
Now comes the cutting part. You'll need the right tools for this, like a drill and a hole saw. If you're not experienced with using these tools, it might be a good idea to get someone who is to help you out.
Start by drilling a small pilot hole at the center of the marked area. Then, use the hole saw to cut out the larger hole. Make sure to cut slowly and steadily to avoid any rough edges or damage to the wall. After cutting the hole, clean out any debris or dust from the area.
4. Mounting the Lamp Housing
Once the hole is cut, it's time to mount the lamp housing. Lower the housing into the hole and make sure it fits snugly. You might need to use shims to adjust the position and level of the housing.
To secure the housing, use screws or anchors. If you're working with a concrete or brick wall, you'll need masonry anchors. These anchors are designed to hold firmly in hard materials. For a wooden wall, regular wood screws will do the job.
Tighten the screws or anchors evenly to ensure that the housing is stable and doesn't wobble. You don't want the lamp to move around once it's installed.
5. Wiring the Lamp
Wiring is a crucial step in the installation process. Before you start wiring, make sure the power is turned off at the circuit breaker. This is a safety measure to prevent any electrical shocks.
Connect the wires from the lamp to the electrical supply. Usually, there will be a hot wire (usually black), a neutral wire (usually white), and a ground wire (usually green or bare copper). Match the colors of the wires and use wire connectors to join them together.
Once the wires are connected, tuck them neatly into the lamp housing. Make sure there are no loose wires that could cause a short - circuit.
6. Securing the Lamp Cover
After wiring the lamp, it's time to secure the lamp cover. The cover not only protects the lamp from dust and moisture but also gives it a finished look.
Place the cover over the lamp housing and align it properly. Some covers have clips or screws that you can use to secure them. If it's a clip - on cover, simply snap it into place. If it uses screws, tighten them gently to avoid over - tightening and damaging the cover.
7. Testing the Lamp
Once the lamp is fully installed and the cover is secured, it's time to test it. Turn the power back on at the circuit breaker and switch on the lamp. If the lamp lights up, that's a good sign. Check for any flickering or unusual noises. If everything seems to be working fine, then your installation is a success.
Additional Tips for Secure Installation
- Waterproofing: If the wall buried foot lamp is going to be installed in an area where it might get wet, like near a pool or in a bathroom, make sure to use waterproof sealant around the edges of the lamp housing. This will prevent water from seeping in and damaging the lamp.
- Using Quality Materials: Always use high - quality lamps, wires, and mounting hardware. Cheaper materials might save you some money upfront, but they can lead to problems in the long run.
Related Products
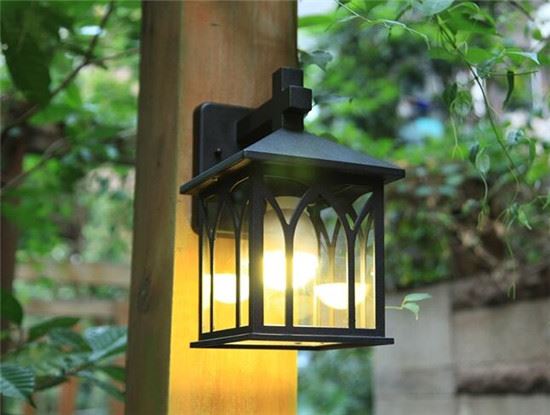
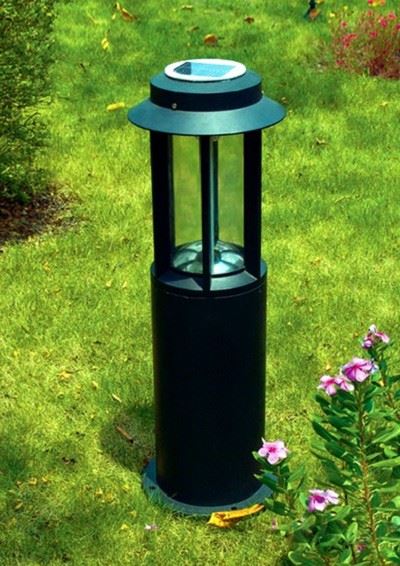
If you're interested in other types of lamps, we also offer some great options. Check out our Explosion Proof Aluminum Landscape - Lamp, which is perfect for outdoor areas where safety is a concern. Our Outdoor Tunable Landscape - Lamp allows you to adjust the light color and intensity according to your needs. And for those looking for a flexible lighting solution, our Flexible Dimmable Wall Lamp is a great choice.
Conclusion
Securing a wall buried foot lamp during installation is not as difficult as it might seem. By following these steps and using the right tools and materials, you can ensure a safe and stable installation. If you have any questions or need more information about our wall buried foot lamps or other products, feel free to reach out. We're here to help you with all your lighting needs. Whether you're a homeowner looking to add some ambiance to your space or a contractor working on a project, we've got the products and expertise to assist you. Contact us today to start the procurement process and let's discuss how we can meet your lighting requirements.
References
- Electrical Installation Handbook
- Lighting Design Guide