Hey there! I'm a supplier of sensor-based lighting sketch lamps, and I often get asked about how to adjust the sensitivity of the sensors in these nifty little lamps. So, I thought I'd put together this blog post to share some tips and tricks on the topic.
First off, let's talk about why you might want to adjust the sensor sensitivity. There are a few reasons. Maybe you've installed the lamp in a high-traffic area, and it's going off too often. Or perhaps it's in a low-traffic spot, and you want it to be more responsive when someone does pass by. Adjusting the sensitivity can help you find that sweet spot where the lamp works just the way you want it to.
Understanding the Basics of Sensor Sensitivity
Before we dive into the adjustment process, it's important to understand how the sensors in these lamps work. Most sensor-based lighting sketch lamps use either passive infrared (PIR) sensors or ultrasonic sensors.
PIR sensors detect changes in infrared radiation, which is emitted by all objects with a temperature above absolute zero. When a warm body, like a person or an animal, moves within the sensor's range, it detects the change in infrared radiation and triggers the lamp to turn on.
Ultrasonic sensors, on the other hand, emit high-frequency sound waves and measure the time it takes for the waves to bounce back. When an object moves within the sensor's range, it disrupts the sound waves, and the sensor detects the change and activates the lamp.
The sensitivity of these sensors determines how easily they detect movement. A high sensitivity setting means the sensor will detect even small movements from a greater distance, while a low sensitivity setting means it will only detect larger movements up close.
Adjusting the Sensitivity of PIR Sensors
If your sensor-based lighting sketch lamp uses a PIR sensor, here's how you can adjust its sensitivity:
- Locate the sensitivity adjustment dial: Most PIR sensors have a small dial or potentiometer that you can turn to adjust the sensitivity. This dial is usually located on the back or side of the sensor housing.
- Turn the dial clockwise or counterclockwise: Turning the dial clockwise will increase the sensitivity, while turning it counterclockwise will decrease it. Start by setting the dial to the middle position and then test the lamp to see how it responds.
- Test the lamp: Walk around in front of the lamp and see how it reacts. If it turns on too easily, even when there's only a small amount of movement, turn the dial counterclockwise to decrease the sensitivity. If it doesn't turn on when you expect it to, turn the dial clockwise to increase the sensitivity.
- Make small adjustments: It's best to make small adjustments to the sensitivity dial at a time and test the lamp after each adjustment. This will help you find the optimal setting without overshooting.
Adjusting the Sensitivity of Ultrasonic Sensors
If your lamp uses an ultrasonic sensor, the adjustment process is a bit different:
- Find the sensitivity adjustment switch or button: Some ultrasonic sensors have a switch or button that you can use to adjust the sensitivity. This switch is usually located on the sensor housing or on the lamp itself.
- Select the appropriate sensitivity level: The switch or button may have multiple settings, such as high, medium, and low. Start by selecting the medium setting and then test the lamp to see how it performs.
- Test the lamp: Walk around in front of the lamp and observe its response. If it turns on too frequently, switch to the low sensitivity setting. If it doesn't turn on when you expect it to, switch to the high sensitivity setting.
- Fine-tune the setting: If necessary, you can fine-tune the sensitivity by making small adjustments to the switch or button. Keep testing the lamp until you find the setting that works best for your needs.
Other Factors to Consider
In addition to adjusting the sensor sensitivity, there are a few other factors that can affect the performance of your sensor-based lighting sketch lamp:
- Mounting height and angle: The height and angle at which you mount the lamp can have a big impact on the sensor's range and coverage. Make sure to mount the lamp at the recommended height and angle for optimal performance.
- Environmental conditions: Factors like temperature, humidity, and sunlight can also affect the sensor's performance. For example, extreme temperatures can cause the sensor to become less sensitive, while direct sunlight can interfere with the sensor's ability to detect movement.
- Interference: Other electronic devices, such as Wi-Fi routers, microwave ovens, and fluorescent lights, can emit electromagnetic interference that can affect the sensor's performance. Try to keep the lamp away from these sources of interference.
Our Product Range
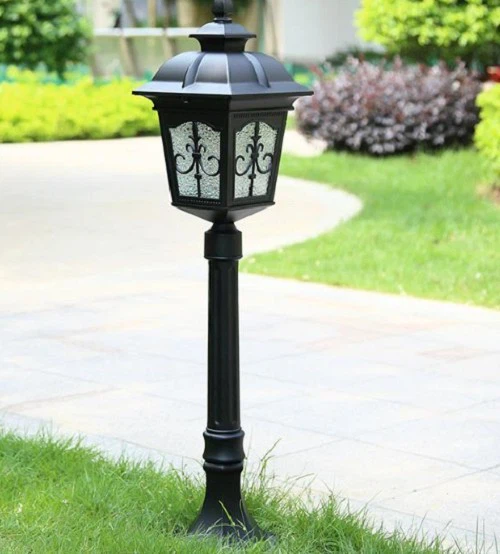
At our company, we offer a wide range of sensor-based lighting sketch lamps to suit different needs and preferences. In addition to our standard models, we also have some energy-efficient options that can help you save on your electricity bills. Check out our Energy-Efficient Wall Lamp and Energy Saving Landscape-Lamp for Garden for more details.
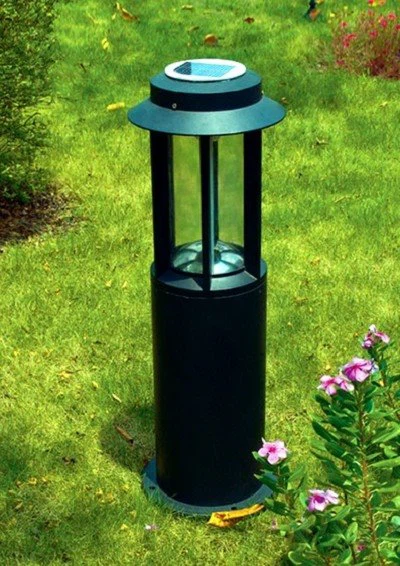
We also have a Programmable Ground-Buried Landscape Lamp that allows you to customize the lighting effects and schedule. This lamp is perfect for creating a unique and personalized outdoor lighting experience.
Contact Us for Purchase and Negotiation
If you're interested in purchasing our sensor-based lighting sketch lamps or have any questions about adjusting the sensor sensitivity, please don't hesitate to contact us. We're here to help you find the right lighting solution for your needs and provide you with the best possible service.
References
- "Passive Infrared (PIR) Sensors: How They Work and Applications." Electronics Tutorials.
- "Ultrasonic Sensors: Working Principle and Applications." All About Circuits.


